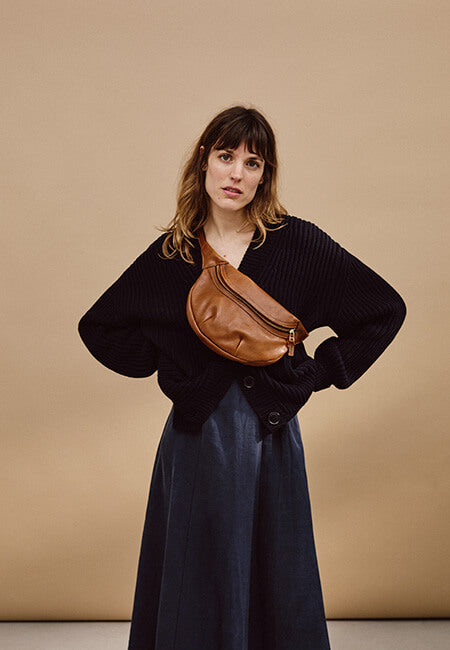

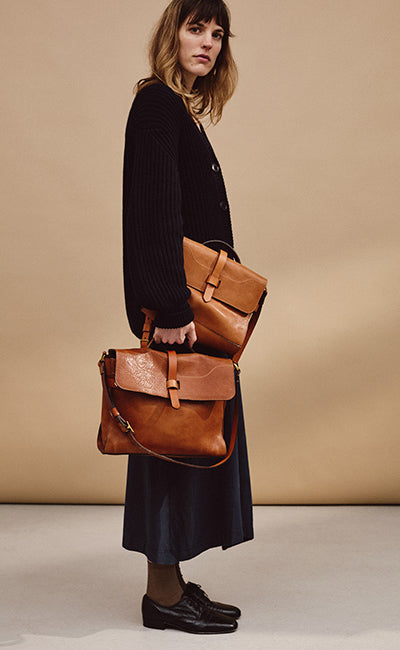
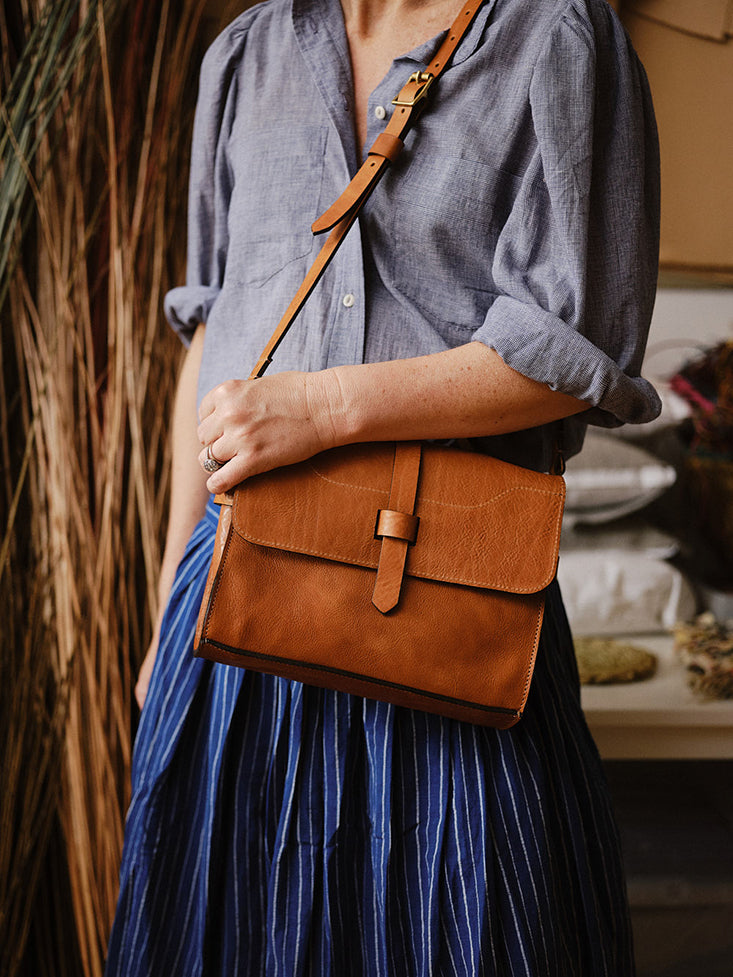
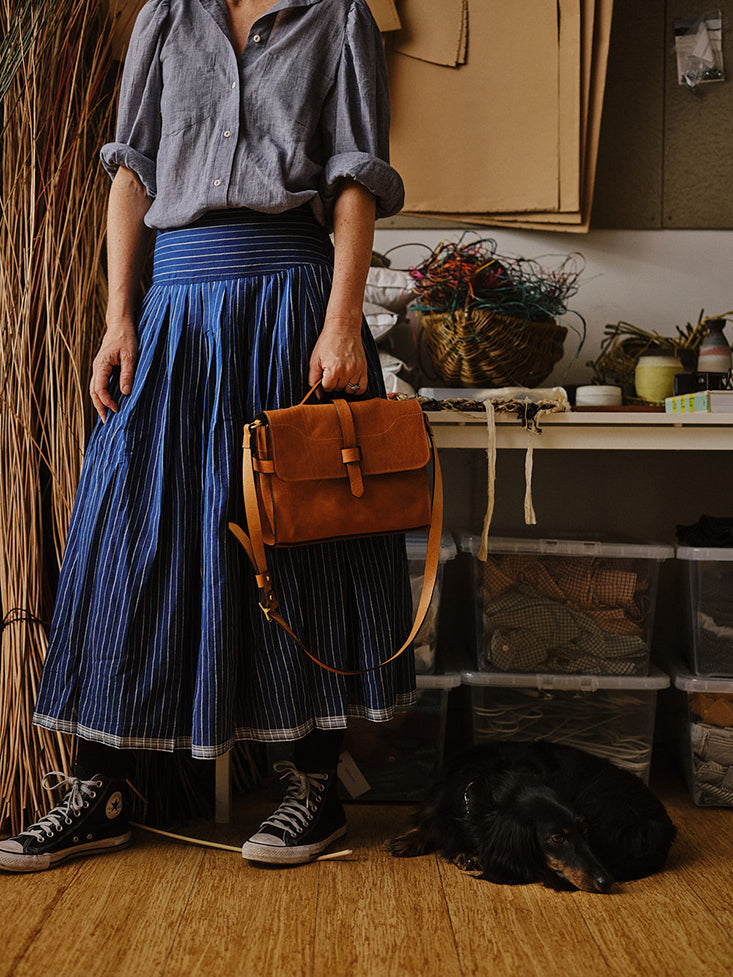
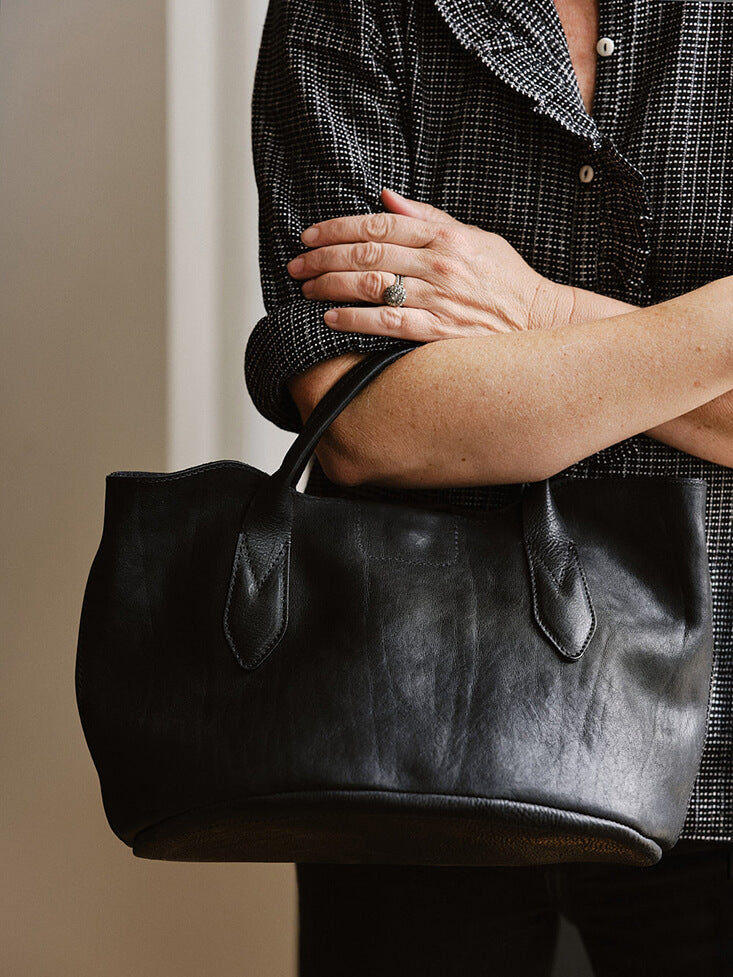
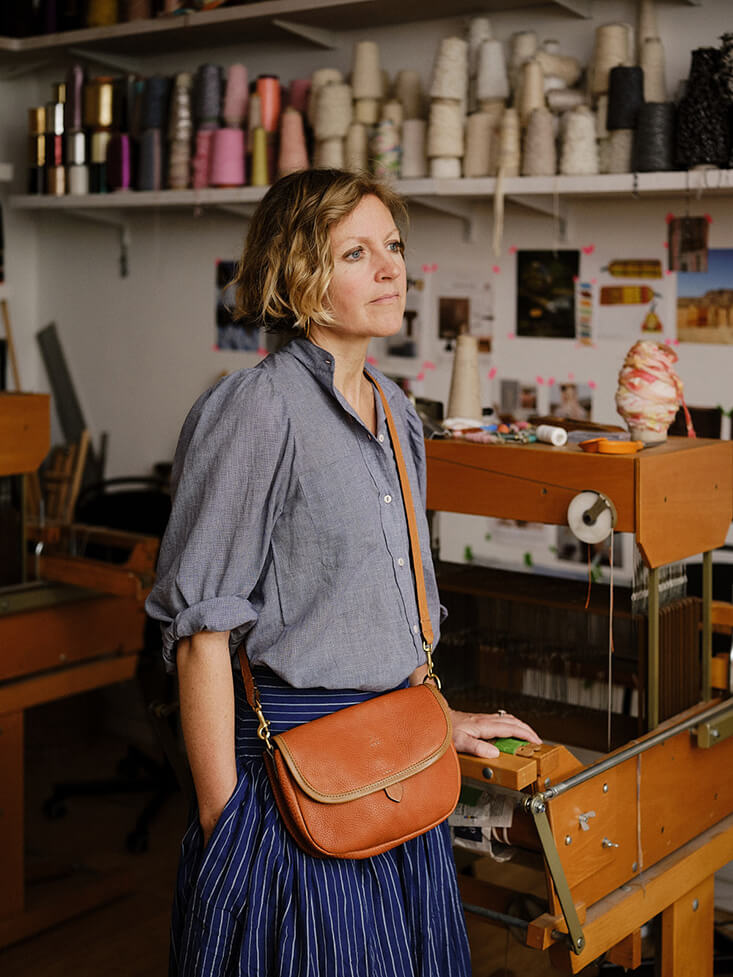
Worn By Laura Miles of Woven London.
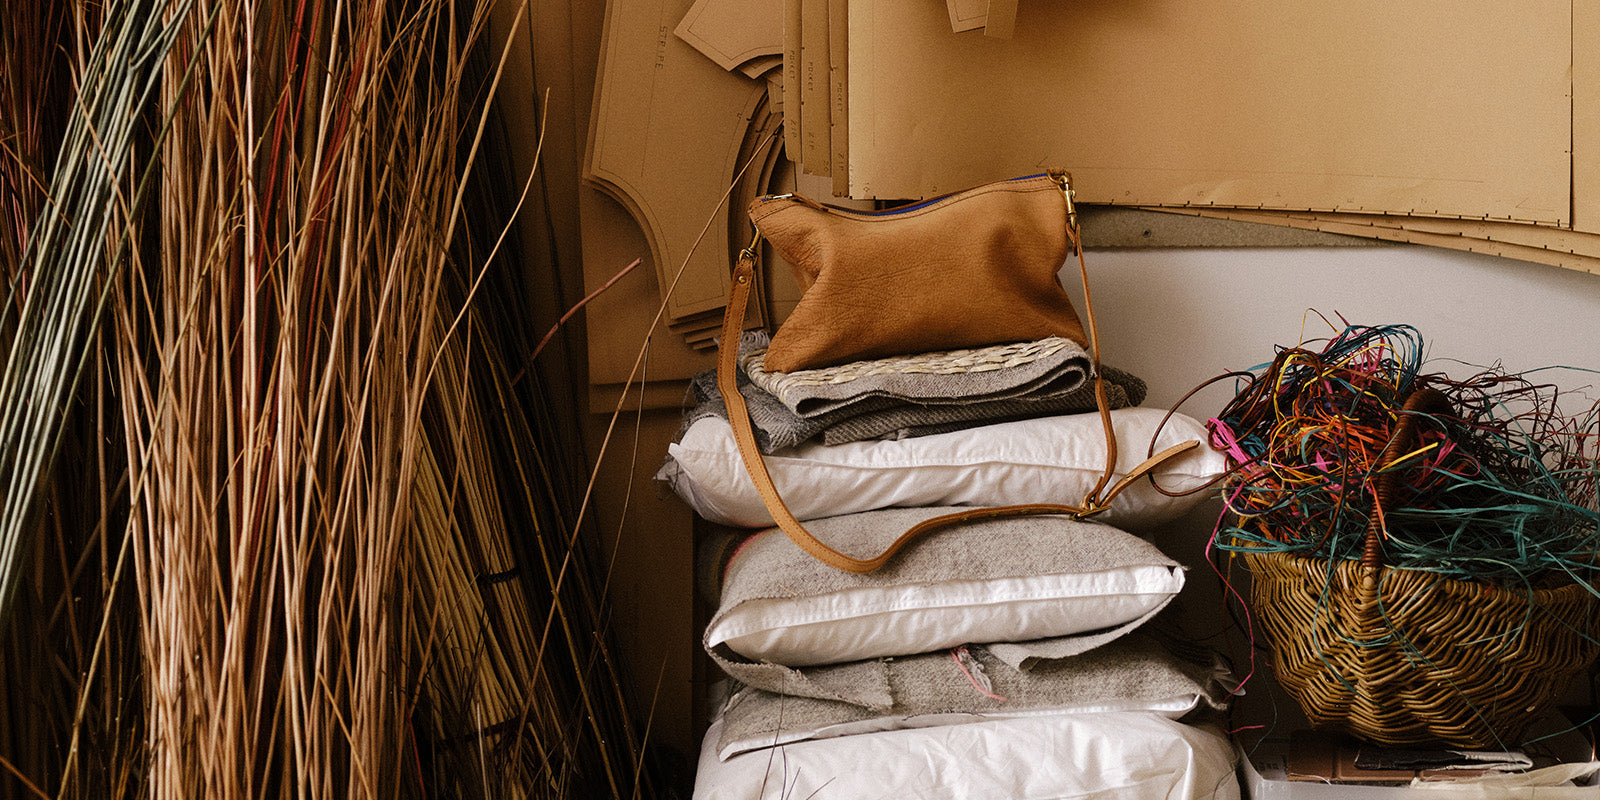
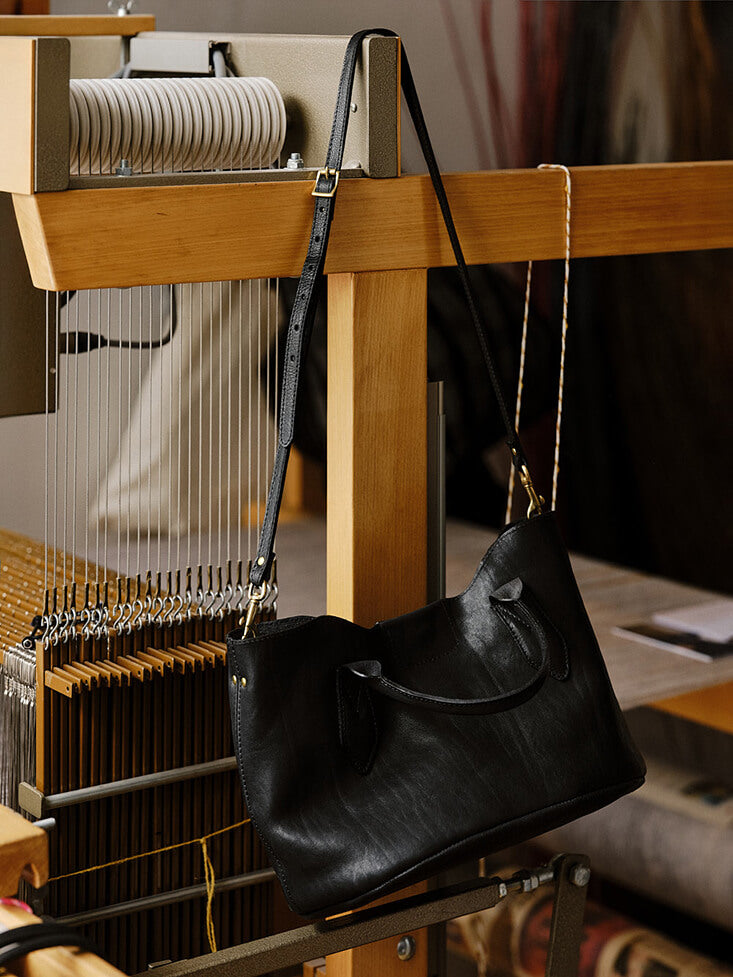
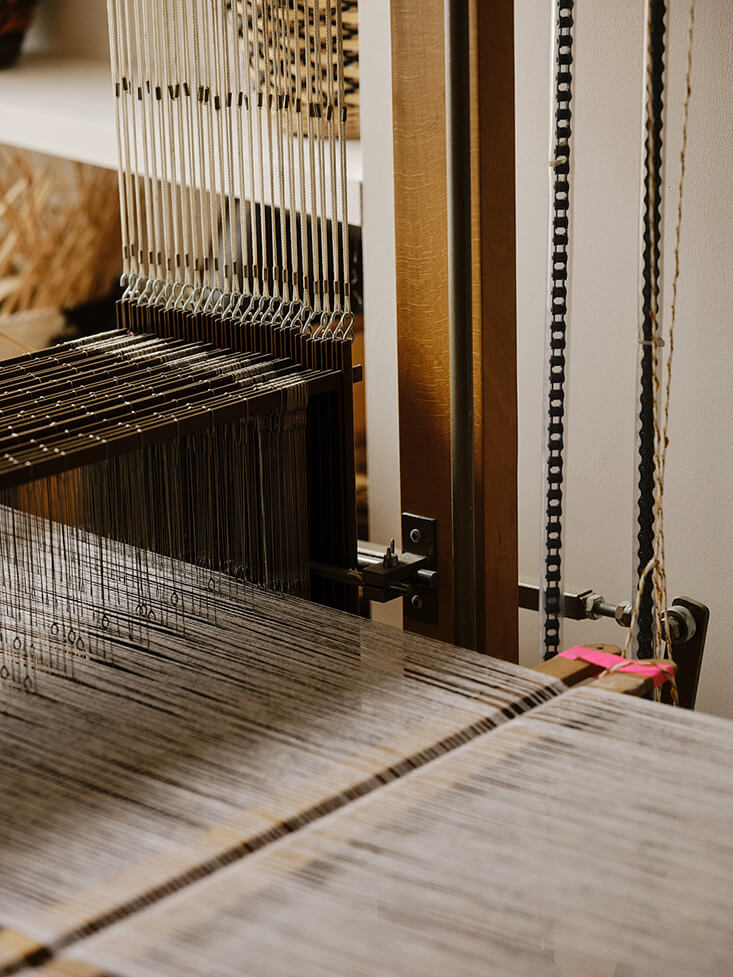
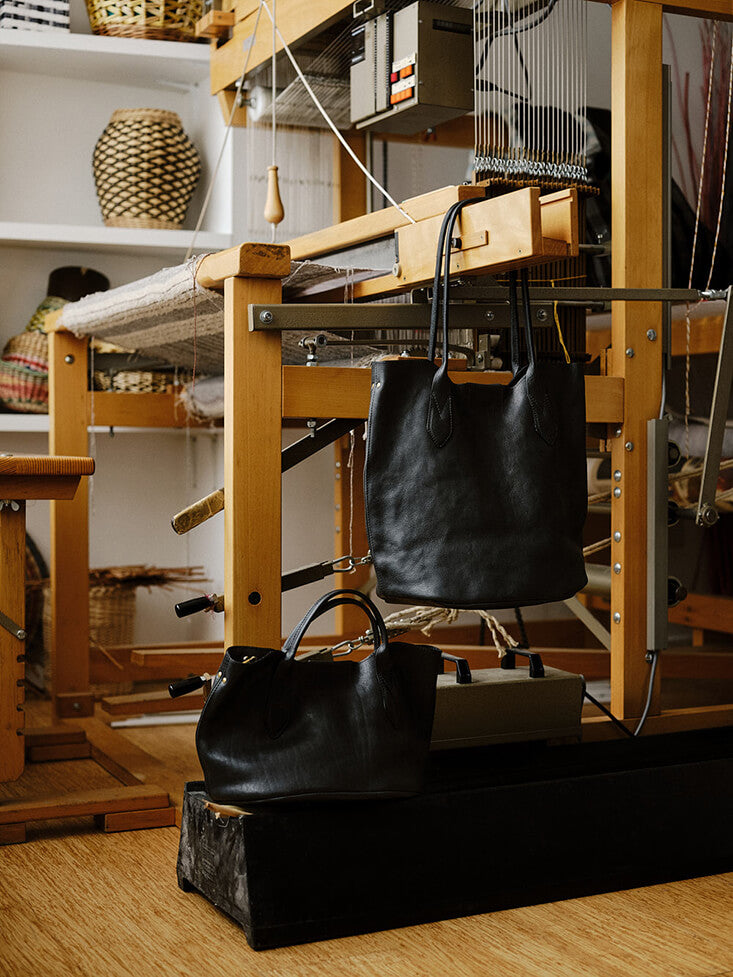
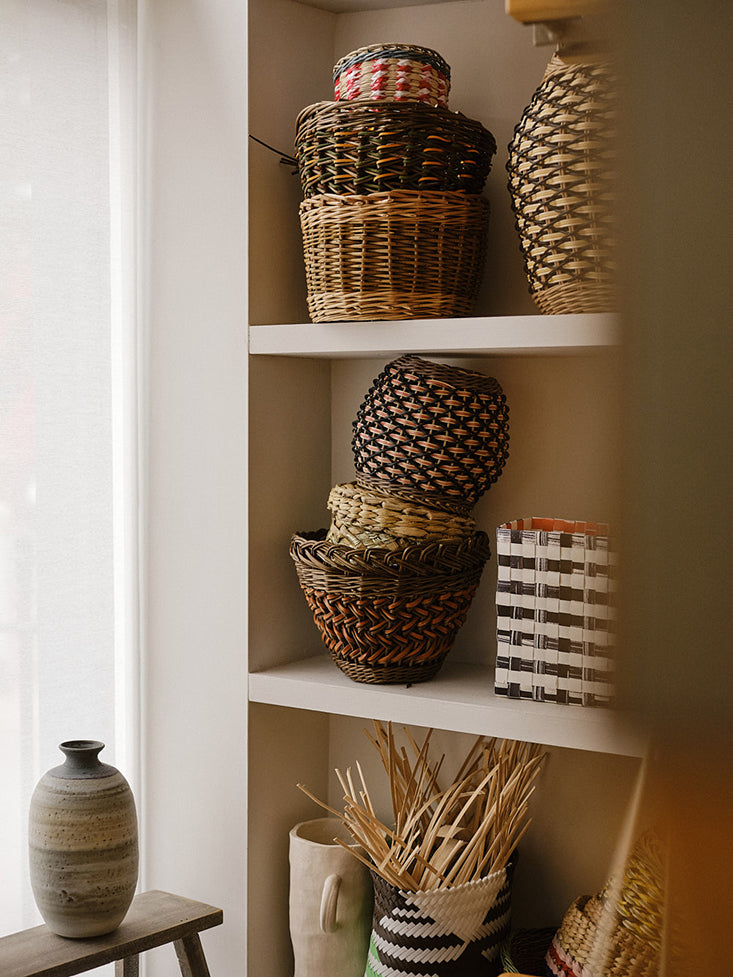
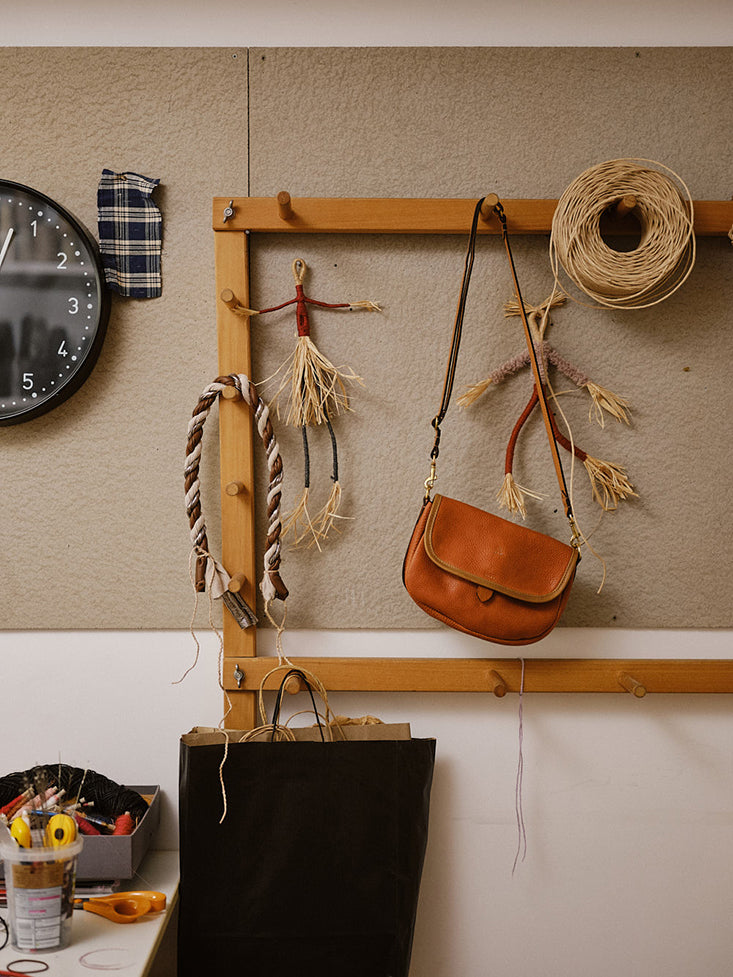
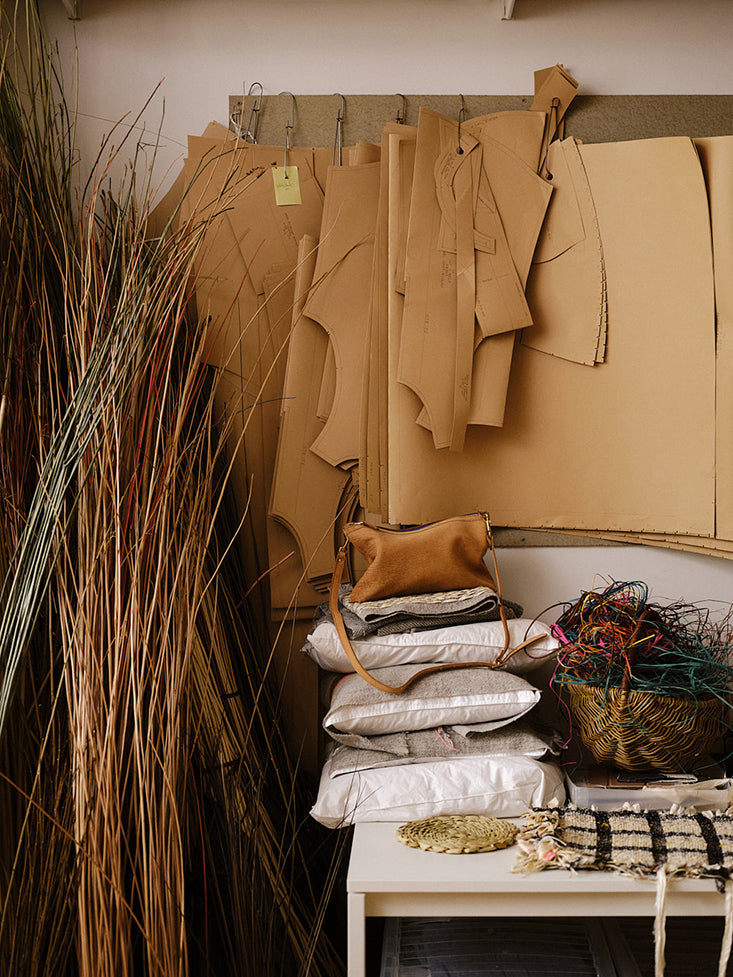
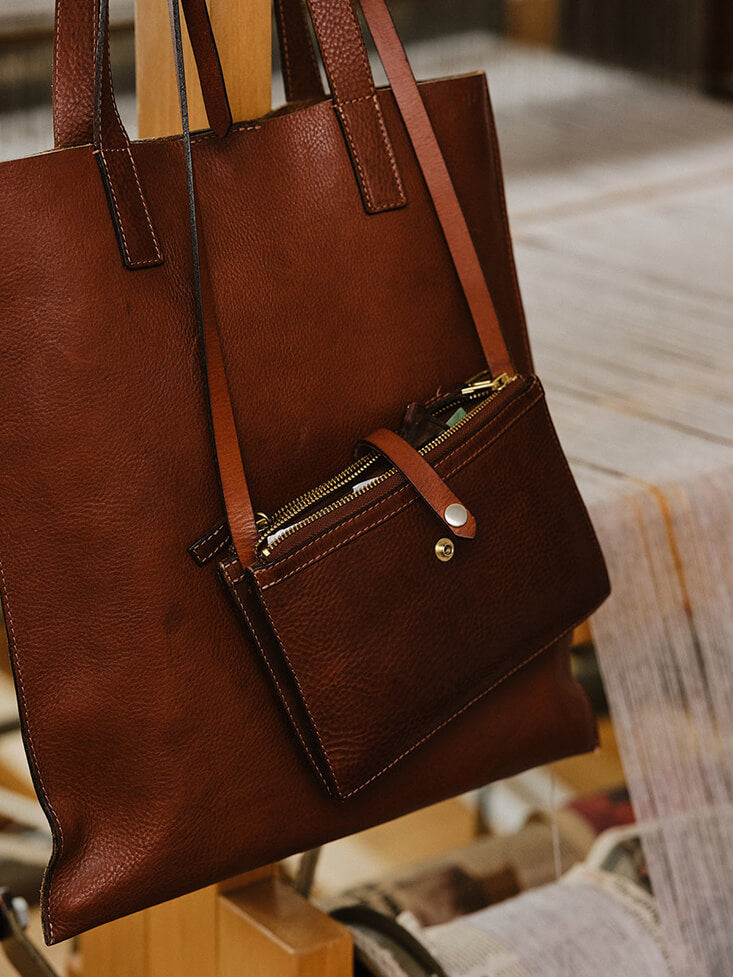
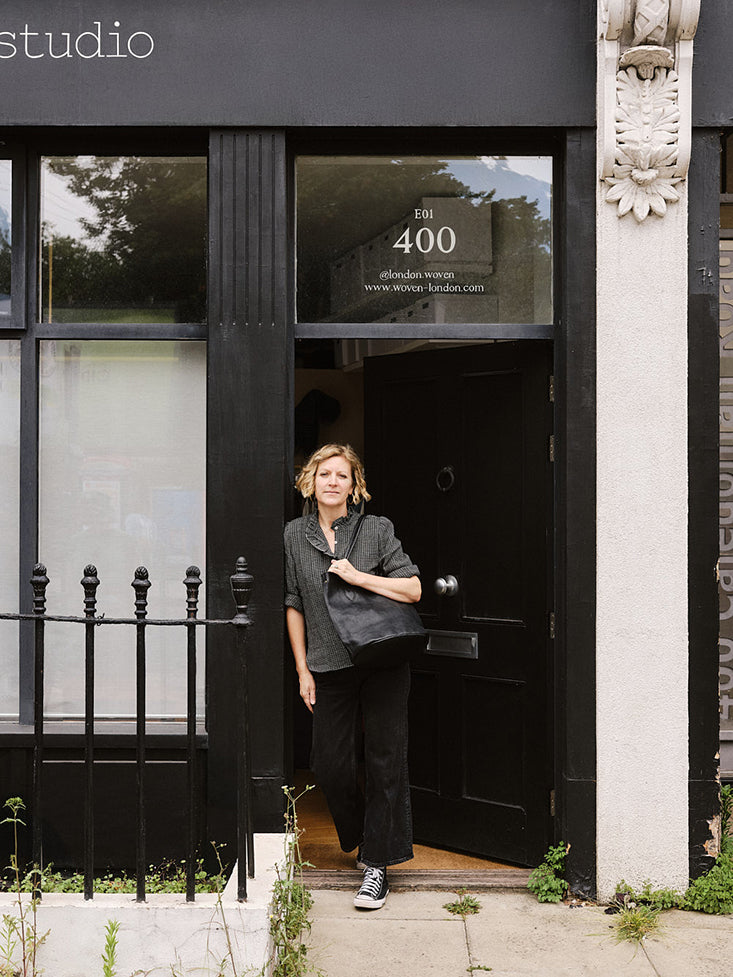
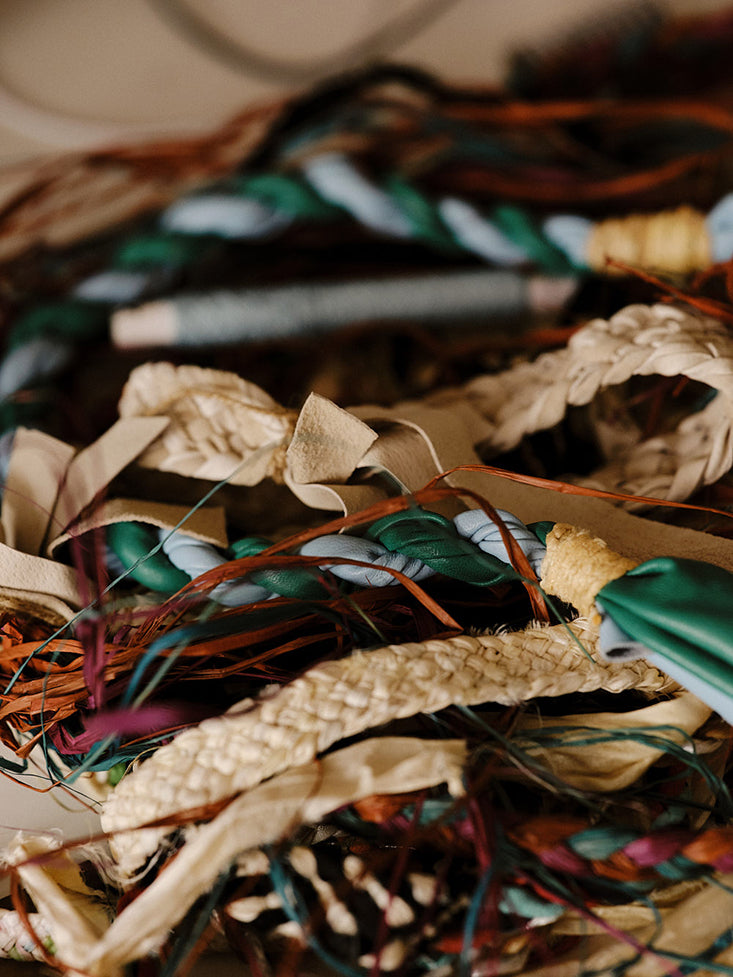
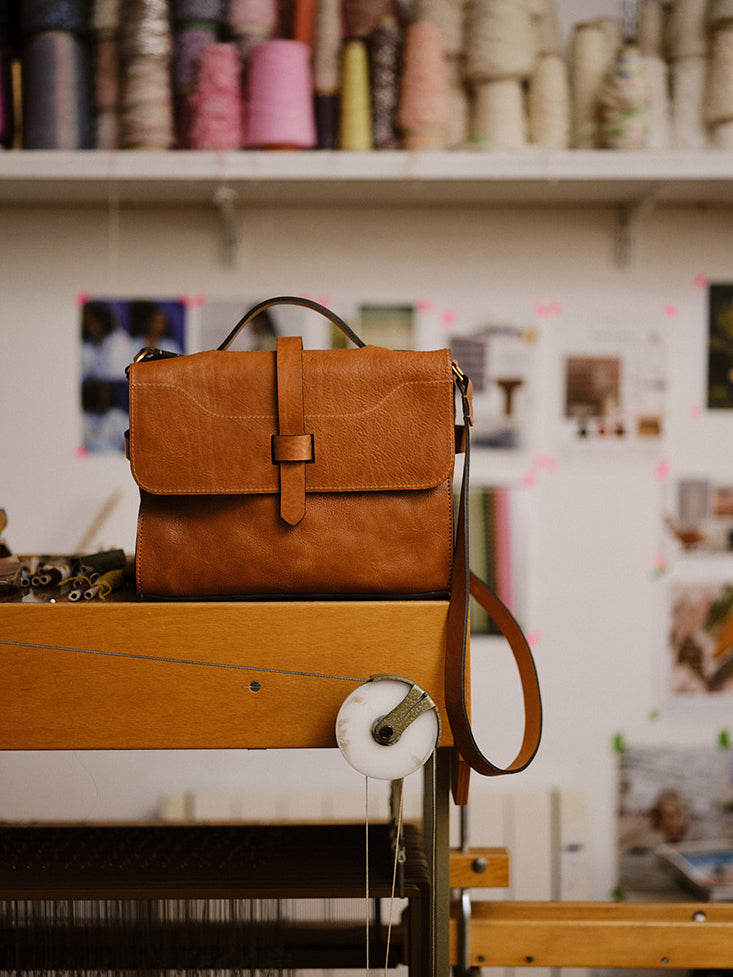
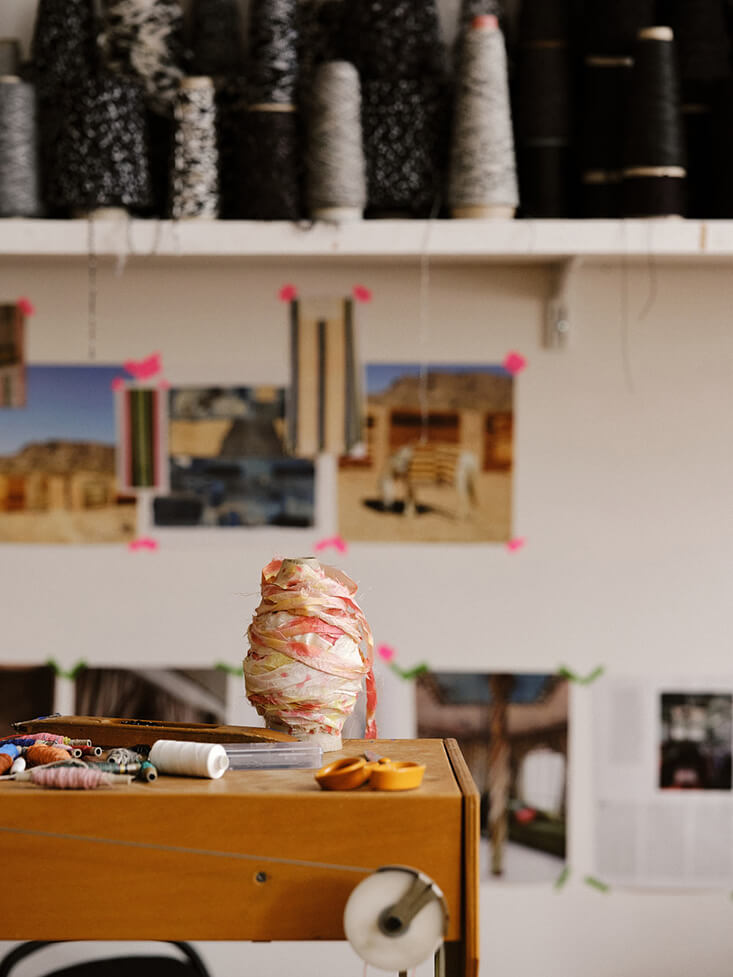
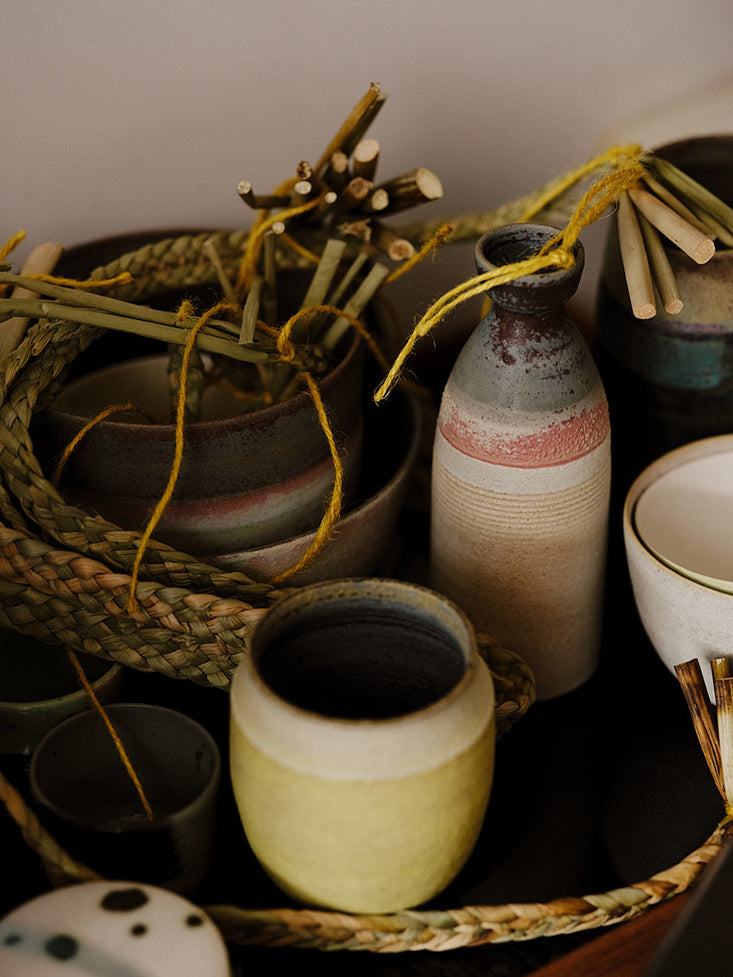
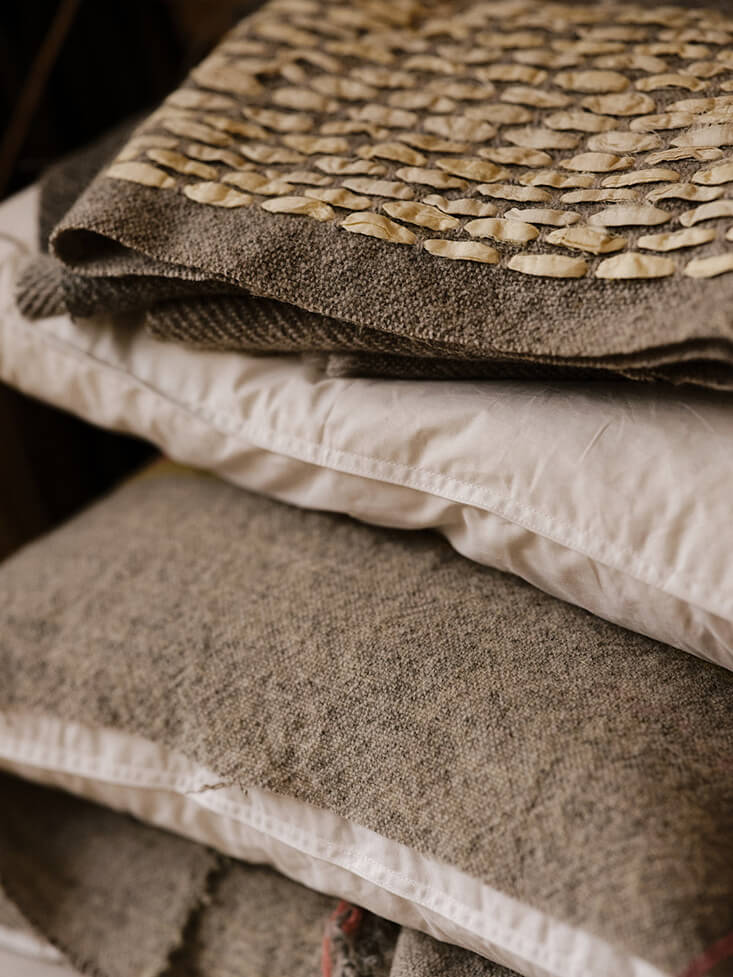
Entering the studio of Laura Miles, founder of Woven London, you are faced with the tools, materials, experiments and archives of a life in weave. Yarns in every colour and finish sit high above mood boards that are part fashion and part craft, alongside experiments in plaiting and basketry, Laura’s latest addition to her weaving repertoire. Two smaller wooden looms sit centrally in the space with a larger, more artisan loom taking up the front of the combined studio and shop space. The windows face out onto Caledonian Rd; the Highbury and Barnsbury end of Islington area that Laura calls home.
Hidden in the back of the studio are boxes containing weave samples of the many designers and fashion houses Laura has worked for - an impressive roll call of household names such as Burberry, Marc Jacobs, Calvin Klein, Givenchy, Christopher Kane and Erdem


